
To stop resin from sticking to your mold, you must use the right mold release agent the right way. You know how frustrating manufacturing can be. Bad casts, wasted resin, surface flaws, and delays from failed demolding cost your factory time and money. Even epoxy can stick to the mold forever. Using a release agent the right way stops this problem. This guide looks at the main causes of sticking. You pick the best product for your factory. You apply it the right way. You fix common demolding problems. Good demolding saves time and cuts waste. It keeps your production line running smoothly. Trusty demolding starts with knowing your mold and your production process.
Why Epoxy Sticks to Molds
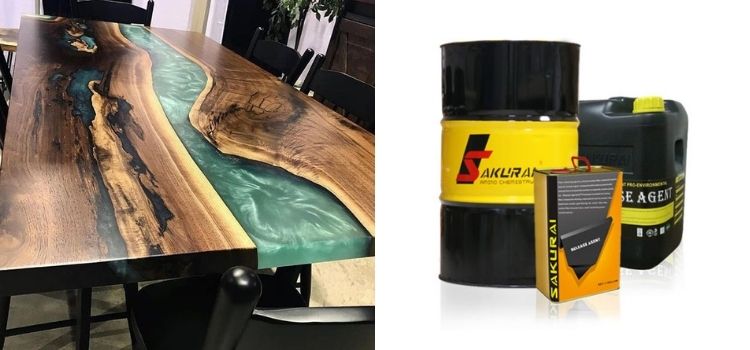
You cannot fix a demolding problem until you know what causes it. Two forces drive epoxy to stick: chemistry and surface structure. Epoxy resins have reactive epoxide groups. These groups make strong covalent bonds with hydroxyl, amine, and carboxyl groups on many surfaces. Hydrogen bonding adds a second problem on smooth materials like metal and glass. Both ways make resin stick more and make it hard to separate.
Porous and Unsealed Surfaces
Most resins are thin and runny. They spread across the mold surface and form bonds over a wide area. On bumpy surfaces, the resin flows into tiny holes and cracks as it cures. This creates a layered, locked-in grip that makes removal almost impossible on porous materials like wood, fabrics, and acrylic.
Sealing fixes this problem. Wax fills surface holes and makes a smooth, sealed layer. Its low surface energy stops resin from wetting it. Polyvinyl alcohol forms a water-soluble, non-porous barrier film. Silicone makes a smooth release surface with no reactive bonding spots. An unsealed mold gives epoxy a permanent grip.
Contamination and Poor Prep
Dust, oils, leftover resin, and fingerprints all cause sticking. Fingerprint oils create barriers between epoxy and the surface. The resin bonds only to the real surface, not to contamination. Other sources include manufacturing residues, cleaning product films, moisture, and blooming additives that move to the surface.
Poor surface prep is a top cause of adhesion problems. Bad cleaning leaves sticky residue behind. That residue makes finished pieces look cloudy or uneven. Clean molds, tools, and surfaces with isopropyl alcohol or manufacturer-recommended cleaners before pouring. One more risk: silicone-based mold release agents can stop cure. The epoxy stays tacky or bonds to the mold. Pick a release agent made for your resin system.
| Chemical Mechanism | Description |
|---|---|
| Covalent bonding via epoxide groups | Reactive epoxide groups make strong covalent bonds with hydroxyl, amine, and carboxyl groups on many surfaces. |
| Hydrogen bonding | Hydrogen bonds make resin stick more to smooth materials like metal and glass, making separation hard. |
Choosing the Right Mold Release Agent
Picking the right product decides if your production line keeps running or stops. The right type of mould release agent fits your resin chemistry, your mold material, and your process conditions. A random pick from the shelf often fails. Go through the factors below before you buy.
Spray, Liquid, and Paste Types
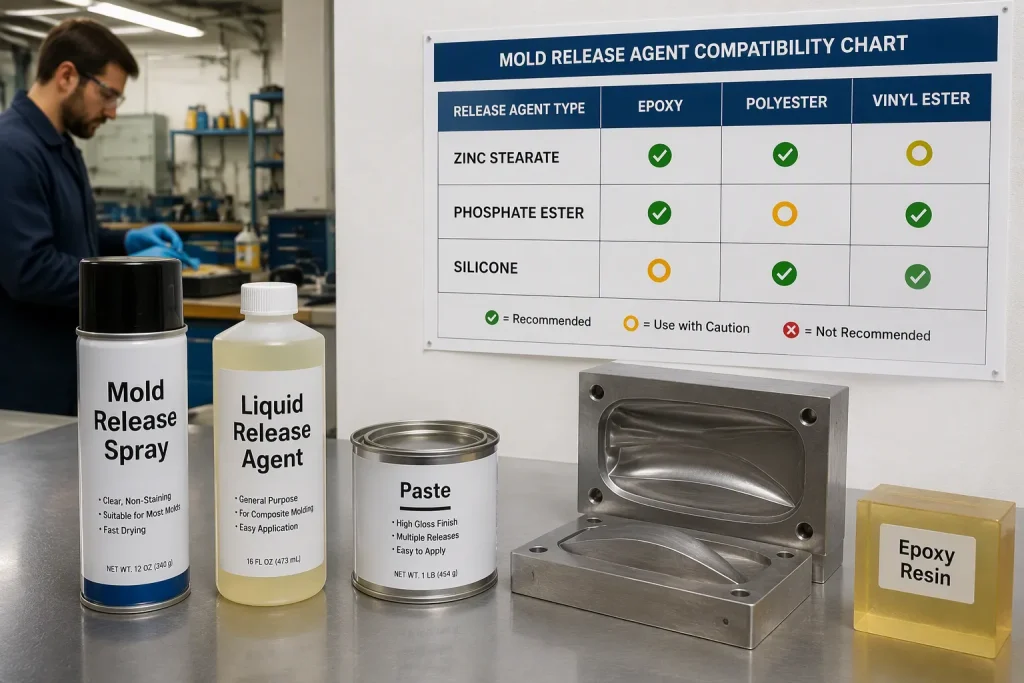
Format affects speed, coverage, and finish. Mold release sprays dry fast and reach complex shapes, so they work well on high-volume lines. Liquids and pastes give heavier, longer-lasting films, and they work well on porous or hot molds. Think about these points when you compare options:
- Fits your specific epoxy system
- Cure profile, including cure temperature, resin viscosity, and part complexity
- Holds up against abrasion and deformation
- Consistency, meaning the choice between paste, liquid, or spray
- Ease of use, health and safety, and cost per part
Semi-permanent agents hold a stable barrier under heat and chemical loads. That stability cuts residue and cleaning time between cycles. A pva mould release works as a simple film for basic jobs, but it dissolves in water and does not last long. For tough work, an epoxy mould release agent built for thermoset systems gives you a longer service life.
Matching Agent to Resin and Mold
Resin chemistry comes first. Silicone-containing releases can stop cure in epoxy, polyester, and vinyl ester systems, so the part stays tacky or sticks to the mold. Check compatibility before you commit:
| Release Agent Type | Compatible Resins |
|---|---|
| Zinc Stearate / Metal Stearates | Polyester, Vinyl Ester |
| Phosphate Ester | Epoxy |
| Silicone-based (e.g., PDMS) | Epoxy, Vinyl Ester |
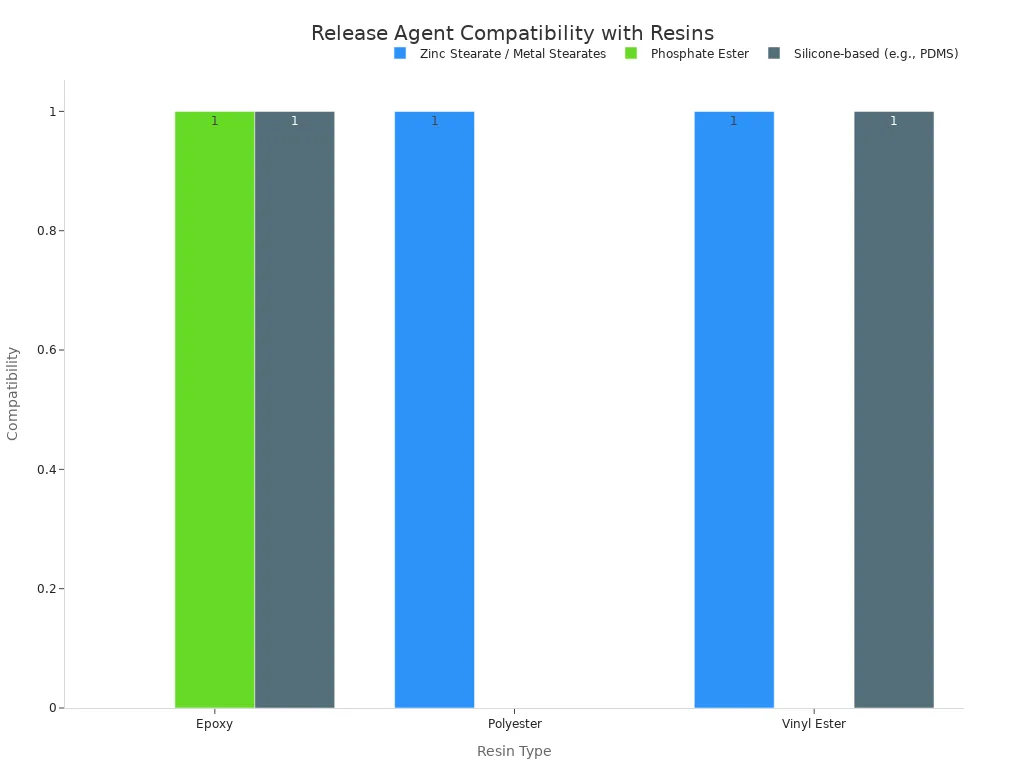
Oil-based composite release agents work with any resin system, including epoxy, unsaturated polyester, and vinyl ester resins. They help mould release agents for resin give smooth demolding across mixed production schedules.
Mold material changes the plan too. Silicone molds often need no release agent for common casting materials, but pouring silicone against silicone needs a special silicone-only product. 3D-printed molds need agents that fill layer-line texture and stop mechanical locking. Rigid two-part molds work well with petroleum jelly thinned with mineral spirits. Every mold release agent acts differently, so follow the maker’s instructions for the exact product.
For sourcing, Dongguan Meiya Chemical Co., Ltd (founded 2007) is a mold release agent manufacturer offering polyurethane, die casting, and composite release agents, and represents the SAKURAI brand. A supplier with proven industrial products helps you form a barrier between the mould surface and the resin on every cycle.
Applying Mold Release Agents for Resin
Clean, Coat, and Cure Thin Layers
Your results depend on the prep work you do. Start with a mold that is clean, dry, and free of anything that doesn’t belong. Wipe away dust, oils, and leftover resin before you put on any coating. A dirty mold surface stops the release film from sticking the right way.
Spray products need a steady hand to work well. Hold the can about 8 to 12 inches away from the mold. Spray in smooth, sweeping passes instead of one heavy blast. This method puts down a thin, even layer over the whole cavity. Never use cooking spray as a substitute. It releases in an uneven way and has chemicals that should not be in epoxy work.
Drying time is just as important as coverage. If you skip this step, or don’t let the release agent dry, you will get sticking and surface flaws. For 3D-printed molds, let the release dry before you pour resin. PVA products act in a different way. Put on one even coat by wiping or brushing, then let it dry at room temperature for about 30 minutes.
Multiple Coats for Even Coverage
One pass almost never covers a complex mold. Add a second thin coat on porous or detailed molds. This step makes sure you get full mould release coverage in deep corners and undercuts. Wipe-on products follow a similar pattern. Put a small amount onto a microfiber cloth, then spread it in overlapping circular motions. Wait the right cure time between coats, and buff lightly if the maker says to.
Too much product causes its own problems. If you put on too much mold release, wipe the extra off with a clean cloth. Always follow the manufacturer’s guidance for that specific product. These mould release agents for resin also work for polyurethane, silicone, and polyester systems, so one application routine can cover several production lines. Eco-friendly, biodegradable options exist for factories that watch their environmental impact. Train your operators on one consistent method, and your demolding success rate will go up.
Troubleshooting Mold Release for Resin
Too Little, Too Much, Uneven
Getting the release film thickness right decides if demolding works. Too little release agent leaves dry spots where resin sticks to the mold. Too much release agent causes buildup and pooling, which leads to bad results and possible sticking. Both extremes waste your production time.
Uneven application leaves dry spots where resin bonds to the mold. You must check if too much product is trapping air or leaving marks on the surface. Extra film is a common hidden cause of greasy, patchy, or uneven part skin. Residue that smears means incomplete cure or too much film. Train your operators to apply thin, even layers every cycle.
Bubbles, Residue, and Defects
Surface defects often come from application mistakes. Too much product or heavy residue buildup can make surface voids and air bubbles worse. Not enough drying time stops the protective layer from forming, which leads to sticking or bonding problems. A wrong formula for your specific injection material also causes adhesion problems.
Moisture creates its own set of problems. Moisture reacts with isocyanate in polyurethane resin and makes CO2 gas, which creates fine, evenly spread foam bubbles. Using a water-based mold release can bring moisture into the polyurethane resin, leading to trapped air or moisture bubbles. You can prevent this by using proper release agents and barrier coats, and by controlling humidity.
Follow this application routine for consistent results:
- Apply a light mist coating of mold release onto the mold surface.
- Use a soft brush to spread the release agent evenly over all details and undercuts.
- Apply another light mist coating and let it dry for 15 minutes before casting resin.
For two-part rigid molds, loosen bolts little by little and tap the seam lightly with a mallet. If resin is stuck, gentle heat from a heat gun (not a torch) can help release it. Reapply mold release for resin before the next pour if sticking has occurred. Not taking care of your mold lets resin and release agent residue build up, which damages both the mold and product quality. Regular cleaning keeps your mould release agents working at their best.
When Mold Release Agent Fails
Sometimes you do everything right, and the part still sticks. Before you throw away the tool, try a barrier coat or a different mold release agent. A barrier coat adds a protective layer between the mold surface and the resin. This layer stops chemical bonding and makes releasing resin from moulds much easier. In composite molding, heating and baking during the cure cycle can cause cracks and tiny holes in an unsealed mold. A mold sealer creates a smooth surface that bonds more easily to mold release products. The gel coat barrier formed between the mold and the resin works with mold release to boost efficiency and extend mold life.
Barrier Coats and Mold Swaps
A semi-permanent barrier coating can save a problem mold. One tooling supervisor reported a glass-filled polycarbonate mold that picked up material on the sidewalls after only about 15 parts. After applying a nano coating, the mold ran for years and needed recoating only after roughly 8-10 thousand parts. These coatings create a semi-permanent barrier, do not move to the part surface, and cure in a few hours.
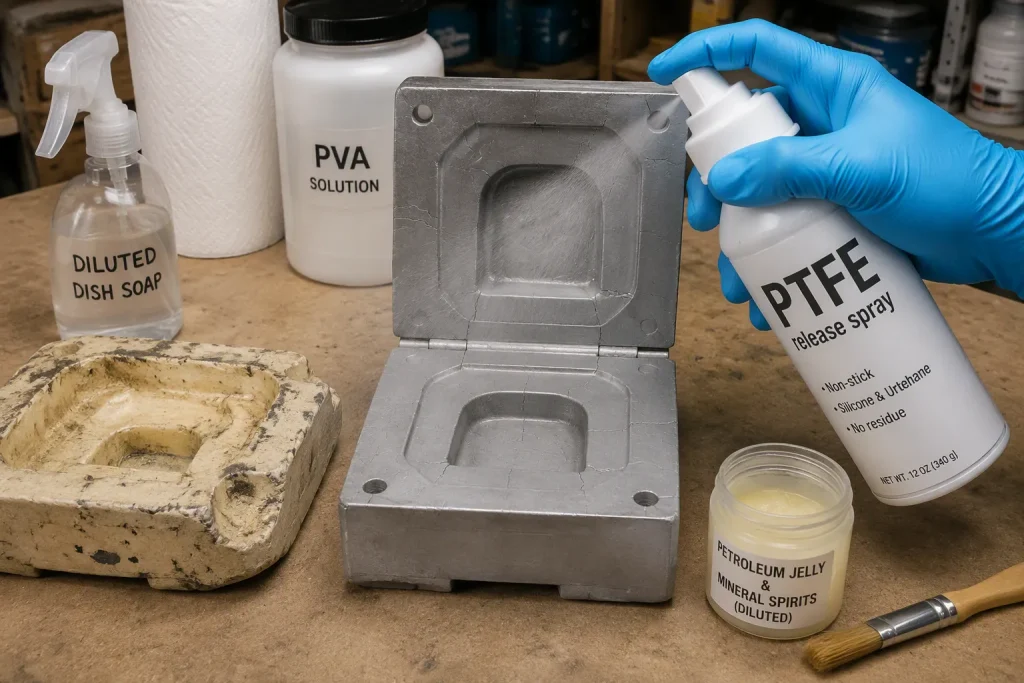
If sticking continues, switch mold materials. Silicone, 3D-printed, and rigid molds each need different release plans. Consider these alternatives:
| Alternative Strategy | How to Use | Advantages | Disadvantages |
|---|---|---|---|
| Dish soap diluted with 99% rubbing alcohol | Mix in a spray bottle, spray onto silicone molds | Effective for silicone molds | Not specified |
| Petroleum jelly diluted in mineral spirits | Dilute to 5–10%, brush on, air-dry | Fast drying, low cost | Slimy feel; needs solvent removal |
| PTFE release spray | Spray liberally to coat all surfaces | Very thin coatings, fast drying | More expensive, hard to remove |
| Polyvinyl Alcohol (PVA) | Thin with water, apply as barrier coat | Excellent barrier, water cleanup | Slow to dry |
Retiring Worn-Out Molds
Some molds reach the end of their service life. Retire or replace any mold that is scratched, porous, or permanently contaminated. Deep scratches trap resin and create mechanical locks that no mould release agent can overcome. Porous surfaces soak up resin over time, and buildup on the mould surface changes part dimensions. A worn mold also raises scrap rates and slows every cycle.
Test any new mold release agent on a scrap mold before using it on a prized project. This step protects your expensive tooling and confirms compatibility with your epoxy, polyester, or vinyl ester system. Releasing polyester resin from a damaged mold often fails no matter which product you choose. Replace the tool, then restart production with a proven release routine.
Using the right mold release for your resin system, in thin even coats, stops most sticking problems on your production line. You must find the real cause before you switch products. Surface contamination, porous molds, or cure inhibition often cause the issue, not the release agent itself.
You should test any new mould release agents on a scrap mold first. This small step protects your production molds and costly tooling. For complex shapes, apply two thin coats and let them dry enough between them. Steady practice builds reliable demolding results over many cycles. Your operators learn the right film thickness and drying time by repeating the work. Each cycle becomes smoother and easier to predict. Good process discipline stops epoxy sticking before it harms your tooling.
FAQ
How often should you reapply mold release between production cycles?
Put on a new coat before every pour for the best results. Semi-permanent agents may last a few cycles, but if parts stick, you waited too long. Check your mold surface after each part. A quick touch-up takes less time than fixing a failed cast.
Can you use the same release agent on different resin systems?
Not always. Silicone-based products can stop cure in epoxy and polyester systems. Oil-based composite agents work with epoxy, polyester, and vinyl ester. Always check compatibility before you switch materials on your production line.
What causes white residue on finished parts?
Too much release agent leaves residue that moves to the part surface. Uneven application creates patchy film buildup. Wipe off extra product with a clean cloth. Apply thin, even coats and let them dry fully before you pour.
How do you release a stuck part without damaging the mold?
Loosen bolts a little at a time on two-part rigid molds. Tap the seam lightly with a mallet. Use gentle heat from a heat gun, never a torch. Reapply mold release before the next pour to stop repeat sticking.
When should you replace a mold instead of trying new release agents?
Replace any mold with deep scratches, porous surfaces, or permanent contamination. These defects create mechanical locks no release agent can overcome. A worn mold raises scrap rates and slows every cycle. Test new agents on scrap molds first.