1.Creating Fiberglass Tool
The original model is prepared for the mold-making process. A gel coat is sprayed over the original model. The gel coat is backed with fiberglass and resin for added strength. The tool is now ready, prior to creating the vacuum bag.
2.Creating Vacuum Bag
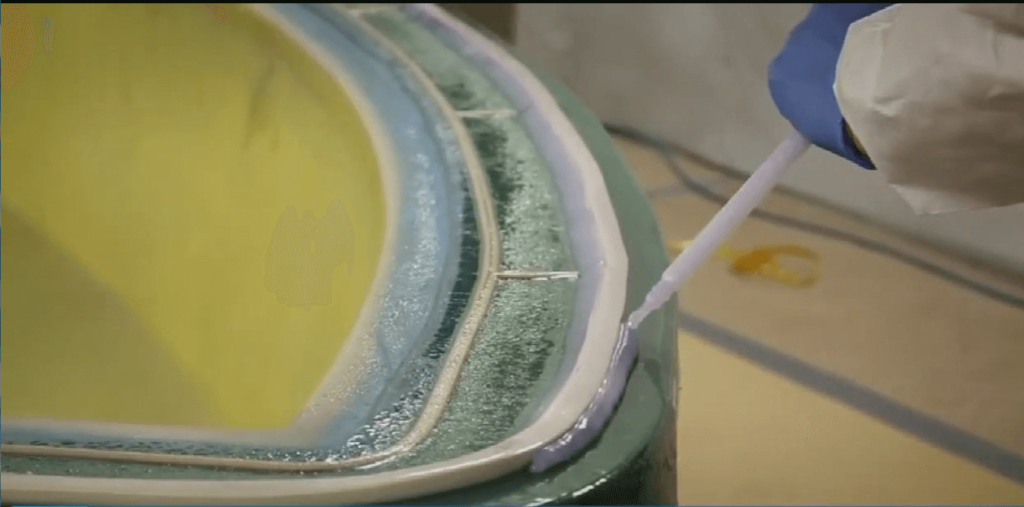
Silicone can now be sprayed over the tool. Silicone is sprayed over the tool in a thin, even coat. Silicone is also used to form the peripheral sealing flange. Cloth is used to reinforce the bag in strategic areas and to increase durability. Metal inserts assist in lifting and handling the bag. The curing time is 20 minutes.
3.Finishing Vacuum Bag
Once the curing stage is over, it’s time to release the vacuum bag. The silicone vacuum bag is self-releasing, it will not adhere to the master mold allowing for easy opening.
4.Apply mold release agent MK-SC-02
Now the mould is cleaned and coated with release agent MK-SC-02. The tool is also cleaned and polished prior to making the part. This helps reproduce the glossiest possible finish.
5.Apply gel coat layer
A gel coat layer is then applied to the mold. The RTM type ‘combination mat’ glass fiber reinforcement is applied with foam cores used in some areas. A layer of ‘flow-mesh’ can be used to accelerate resin flow.


6.Reposition vacuum bag
The silicone bag is positioned over the fiber leaving a cavity for the resin to fill. Connections are made to the vacuum pump and the machine that will mix and inject the resin. The resin flows into the mold through the fiber.

7.Curing and demoulding
After curing, the vacuum bag releases from the newly formed boat hull. The bag is reusable, saving time and significantly increasing productivity. If a ‘peel-ply’ layer has been used, it is removed at this stage. The molding part can now be released from the mold


